Choosing pool mosaic tiles starts with the conditions they must perform in—not color or pattern alone. Focus on three decisions:
- Match the material to the pool environment. Check permanent-immersion suitability, water treatment, UV exposure, temperature changes, and maintenance needs.
- Specify mosaics for each pool zone. Submerged walls, floors, waterlines, steps, benches, infinity edges, and pool surrounds may require different surfaces and performance levels.
- Verify the choice before ordering. Review technical documents, mounting and adhesive compatibility, then approve wet samples under the project’s actual lighting conditions.
Why Pool Mosaic Selection Must Start With Project Conditions
Pool mosaics are exposed to permanent immersion, cleaning chemicals, changes in water temperature, and—outdoors—sunlight and seasonal weather. These conditions affect material performance, color stability, maintenance, and installation. A mosaic selected for an indoor hotel pool may not meet the same requirements as one used in a saltwater infinity pool or an outdoor spa.
The application area matters as well. Pool walls, floors, waterlines, steps, benches, and surrounding decks perform different functions. A reflective finish may support the visual plan on a submerged wall, while a step or wet walking surface requires separate safety and visibility checks. Curved structures and overflow edges can also affect tile size, sheet mounting, joint layout, and installation accuracy.
Color should be evaluated within the same project context. Water depth, grout color, daylight, underwater lighting, and surrounding finishes can make a dry sample look different after installation.
A reliable selection process therefore begins with the pool environment and drawings. Material, size, finish, mounting system, and color can then be assessed as one specification. For projects requiring coordinated design and technical support, explore JNJMosaic’s swimming pool and spa mosaic solutions.
Step 1 — Define the Pool Environment Before Comparing Tiles
There is no single pool mosaic that suits every project. Before comparing colors or materials, document where the pool is located, how it will be used, what water-treatment system it uses, and which surfaces will receive mosaic. These conditions determine the performance requirements used during product review.
Indoor or Outdoor Pool
Outdoor mosaics may face strong sunlight, rain, airborne contaminants, and seasonal temperature changes. Relevant products should be checked for UV exposure, color stability, and—where applicable—freeze–thaw conditions.
Indoor pools avoid some weather-related stresses, but they often operate in humid spaces with artificial lighting. The selected finish should be viewed under the planned lighting because gloss, reflection, and color depth can appear different from a dry sample seen in daylight.
Chlorinated, Saltwater, or Thermal Water
The water-treatment system affects the tile, grout, adhesive, and other installation materials. Chlorinated pools require resistance to the chemicals used during regular treatment and cleaning. Saltwater systems may introduce different compatibility requirements. Spas and thermal pools add heat and sustained humidity.
Do not assume that every glass, porcelain, or ceramic mosaic can remain submerged. Confirm permanent-immersion suitability and chemical compatibility through product-specific technical documents.
Pool Type and Usage
Different projects place different demands on the finish:
| Pool Type | Main Selection Priorities |
|---|---|
| Private villa | Water color, architectural fit, curves, custom details |
| Hotel or resort | Maintenance, visual consistency, repeated use |
| Clubhouse | Indoor lighting, atmosphere, custom patterns |
| Public pool | Clear zoning, maintenance, documented performance |
| Spa or wellness pool | Heat, humidity, seating, curved transitions |
Pool Shape and Architectural Details
Review drawings before selecting mosaic size or sheet format. Curved walls, steps, benches, overflow channels, infinity edges, and irregular water features require closer control of joint alignment and tile placement. Smaller mosaics often follow curves more accurately, but the mounting system must still allow adjustment on site.
The result of this stage should be a written project brief covering the environment, water system, application zones, architectural details, lighting, maintenance plan, and required technical documents.
Step 2 — Choose the Mosaic Material by Application
Material names provide a starting point, but they do not confirm whether a mosaic is suitable for a specific pool. Glass, porcelain, ceramic, and natural stone differ in appearance, maintenance, installation requirements, and response to permanent immersion. Review each product against the conditions established in Step 1.
Glass Mosaic Tiles
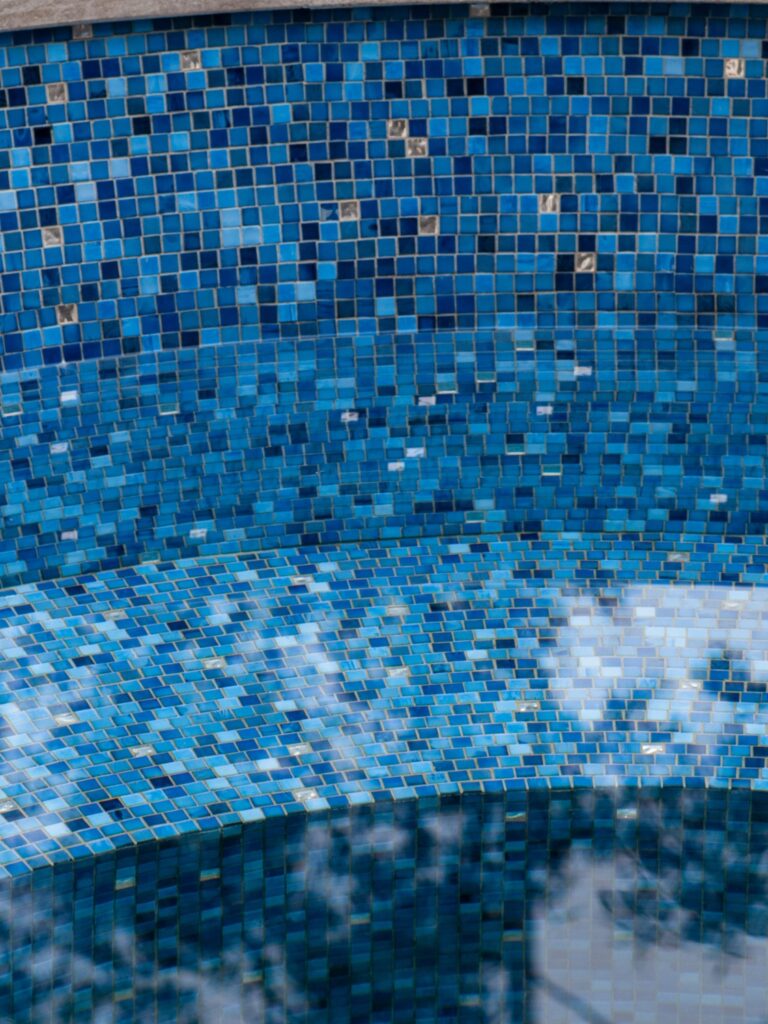
Glass mosaics reflect light through the water and can produce visible shifts in tone as water depth and lighting change. They are often specified for custom patterns, color gradients, submerged walls, waterlines, and pools where reflection is part of the design.
Installation requirements need close review. Glass can expose gaps in adhesive coverage, particularly when the tile is translucent. The adhesive color, mounting method, substrate preparation, and movement-joint plan may affect both appearance and bond performance. Confirm that the selected product and sheet system are approved for permanent immersion.
Porcelain Mosaic Tiles
Porcelain mosaics can provide controlled color, dimensional consistency, and finishes ranging from matte to stone-like. They may be considered for pool floors, walls, steps, and large tiled areas, subject to product-specific test results.
Porcelain is generally associated with low water absorption, but the classification alone is not enough. Check the declared absorption value, chemical resistance, surface characteristics, and suitability for the specified pool zone.
Ceramic Mosaic Tiles
Ceramic mosaics offer many colors, shapes, and glazed finishes. Pool-rated ceramic products can be used in submerged applications when their body, glaze, and installation system meet the project requirements.
Standard bathroom or kitchen tiles should not be specified for a pool without supporting documentation. A decorative glaze may look suitable on a sample board while lacking the required performance under continuous water and chemical exposure.
Natural Stone and Mixed-Material Mosaics
Natural stone introduces variation in color, veining, texture, and porosity. Some stones may require sealing and a more controlled maintenance program. Water chemistry can also affect the appearance of certain minerals. For these reasons, stone is often assessed for selected features rather than assumed suitable for every submerged surface.
Mixed-material mosaics require an additional compatibility review. Each component must work with the proposed adhesive, grout, cleaning method, and exposure conditions.
| Material | Typical Visual Character | Possible Applications | What to Verify |
|---|---|---|---|
| Glass | Reflective, layered color | Custom patterns, walls, waterlines | Immersion rating, transparency, mounting and adhesive |
| Porcelain | Controlled, consistent finish | Floors, walls, steps, large areas | Absorption, chemical resistance and surface data |
| Ceramic | Glazed color and varied shapes | Approved submerged or decorative areas | Body, glaze and immersion suitability |
| Natural stone | Organic color variation | Selected decorative features | Porosity, sealing and water-chemistry response |
| Mixed material | Contrasting textures and finishes | Custom features and artistic areas | Compatibility of every component |
The final specification should identify the exact product, finish, size, mounting system, installation materials, and approved application zone. The material name alone does not confirm suitability for permanent pool immersion.
Step 3 — Specify Mosaic Tiles by Pool Zone
A swimming pool should not be treated as one uniform tiled surface. Submerged walls, floors, steps, waterlines, infinity edges, and surrounding decks are exposed to different loads and maintenance conditions. Divide the pool into zones on the drawings, then review the mosaic and installation specification for each one.
Submerged Walls
Pool walls have a strong influence on the perceived water color. Review the mosaic under water and under the planned lighting before approval. For large walls, check shade distribution, sheet-joint visibility, grout color, and batch consistency. Curved walls may require smaller pieces or a mounting system that can be adjusted during installation.
Pool Floors
Pool-floor mosaics remain submerged and may receive regular foot contact, cleaning, and maintenance equipment. Confirm immersion suitability, chemical resistance, edge quality, and compatibility with the chosen adhesive and grout.
The number and width of grout joints can affect both appearance and cleaning. Floor color should also provide enough visual distinction around changes in depth, drains, or other features identified in the design.
Steps, Benches, and Shallow Areas
Steps and benches require clear visual definition and a surface assessment based on their actual use. Smaller mosaic pieces create more joints, but joint density alone does not establish slip resistance. Check relevant test data for the specified product and application.
Contrasting bands or changes in tone can help users identify step edges. Any safety marking should remain visible under water and in the expected lighting.
Waterline
Waterline mosaics are exposed to mineral deposits, body oils, sunscreen residue, and repeated cleaning. Select a finish that can be maintained without damaging the tile surface. Consider how the waterline connects visually with the coping, pool interior, and surrounding architecture.
Infinity Edges and Overflow Details
Infinity edges, spillways, and overflow channels require accurate alignment across changes in plane. Tile size, sheet flexibility, joint layout, and edge detailing should be reviewed before production. A trial layout can reveal cuts or misaligned sheets that are difficult to correct after installation begins.
Pool Surrounds
Pool surrounds are wet walking areas rather than permanently submerged surfaces. Their safety, drainage, weather exposure, and cleaning requirements differ from those of the pool interior. Do not assume that a mosaic approved for a submerged wall is suitable for a deck.
| Pool Zone | Main Selection Checks |
|---|---|
| Submerged walls | Water color, shade distribution, sheet joints, curves |
| Pool floor | Immersion, chemical resistance, joints, cleaning |
| Steps and benches | Visibility, edge safety, relevant slip data |
| Waterline | Deposits, cleaning, connection with coping |
| Infinity edge | Alignment, sheet flexibility, cuts, edge details |
| Pool surround | Wet-area slip data, drainage, weather exposure |
Record each zone and its approved specification separately. This reduces substitutions on site and gives installers a clear reference for tile placement, adhesive, grout, joint layout, and transitions.
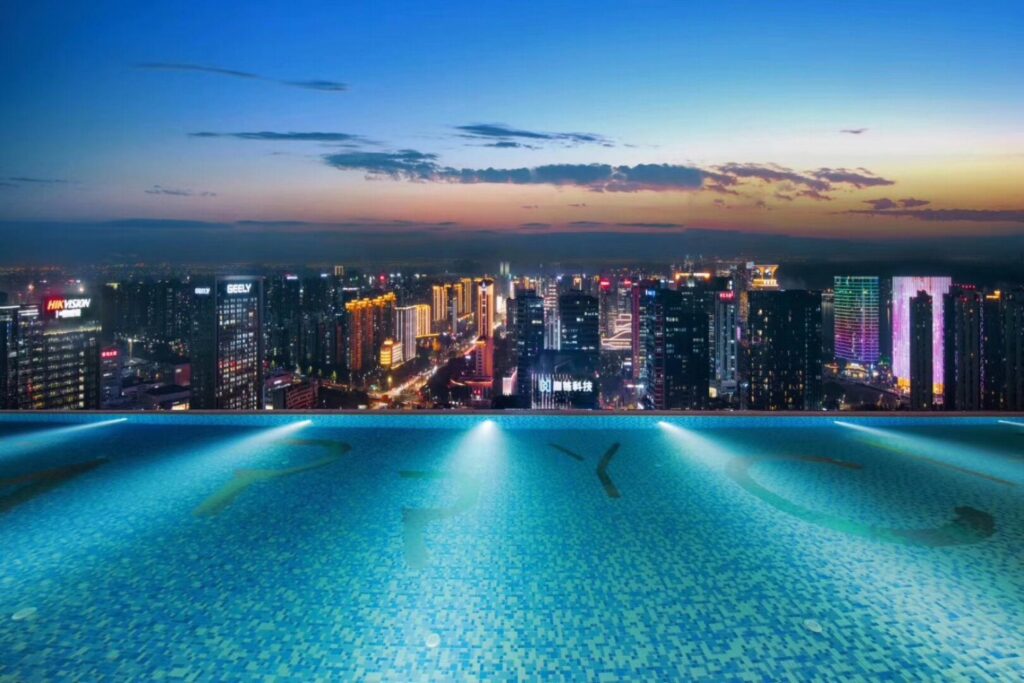
Step 4 — Predict How Tile Color Will Look Underwater
A dry mosaic sample does not show the finished color of a pool. Once installed, the tile is viewed through water and affected by depth, daylight, underwater lighting, grout, and reflections from the sky and nearby surfaces. Color approval should therefore take place within the project’s actual visual conditions.
Why Dry Samples Can Be Misleading
Water changes how light reaches and returns from the tiled surface. A color viewed in a showroom may appear lighter, deeper, cooler, or less saturated after the pool is filled. The effect can also vary between shallow steps and the deepest part of the pool.
Several elements should be reviewed together:
- Water depth and clarity
- Direction and intensity of daylight
- Underwater lighting type and color temperature
- Tile finish and reflectivity
- Grout color and joint width
- Surrounding walls, landscaping, and sky reflection
- Viewing angle and distance
Light, Medium, and Dark Colors
Light mosaics generally produce a brighter appearance and make the tiled pattern easier to see in shallow water. Blue and green blends are often used to create a clear or natural water tone. Darker mosaics can add visual depth, although mineral deposits and water marks may become more noticeable on some surfaces.
These are design tendencies, not fixed formulas. The same mosaic can produce different results in an indoor pool, an open-air resort pool, and a shaded courtyard.
Solid, Blended, and Gradient Color Systems
Solid colors create a controlled base but can make installation or batch variations easier to notice across a large surface. Blended mosaics distribute several tones throughout the pool, reducing visual flatness. Gradient systems can respond to changes in water depth or support a planned transition between the pool floor and walls.
For mixed or gradient designs, the specification should state the color ratio, distribution method, installation direction, and reference sample.
Gloss, Matte, and Iridescent Finishes
Glossy and iridescent mosaics return more light and may show stronger changes as the viewer moves. Matte finishes reduce some reflections and produce a quieter appearance, but texture can affect cleaning. Finish selection should be based on sample testing rather than photographs alone.
JNJMosaic Project Insight: Approve Color in Water, Not Only on a Sample Board
JNJMosaic can review color through a staged approval process: initial palette development, dry sample comparison, wet viewing, lighting review, and a larger mockup when the project uses custom patterns or gradients. Photographs should record each approved condition, while the final reference should document tile codes, color ratios, finish, grout, and viewing conditions.
This process helps the project team assess the intended water appearance before full production. It is especially useful for large pools, changing water depths, custom artwork, and projects where artificial lighting forms part of the design.
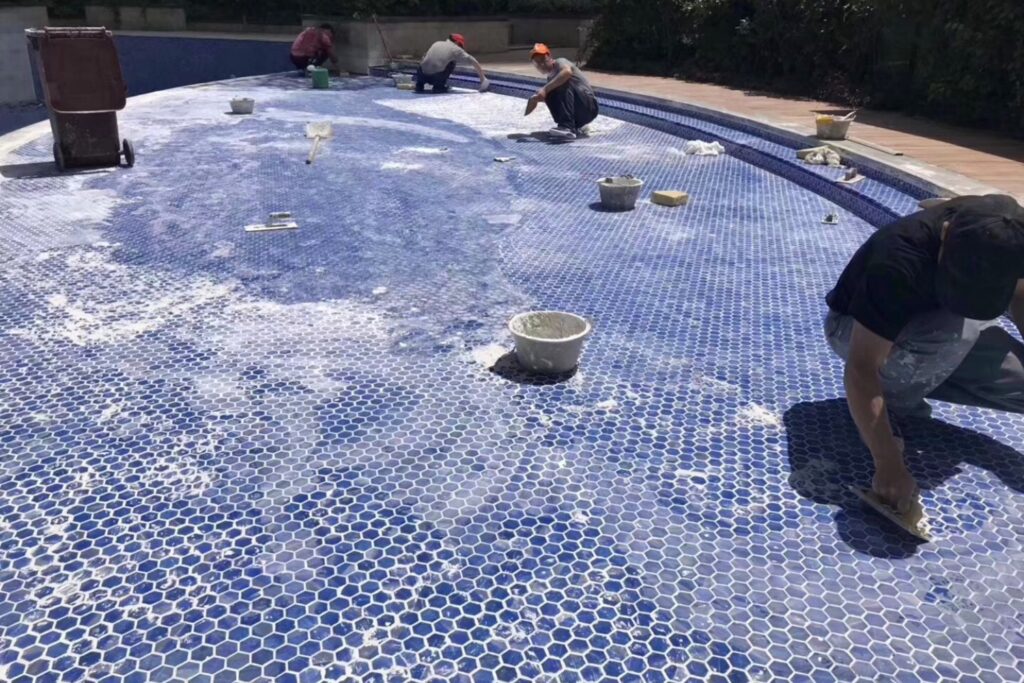
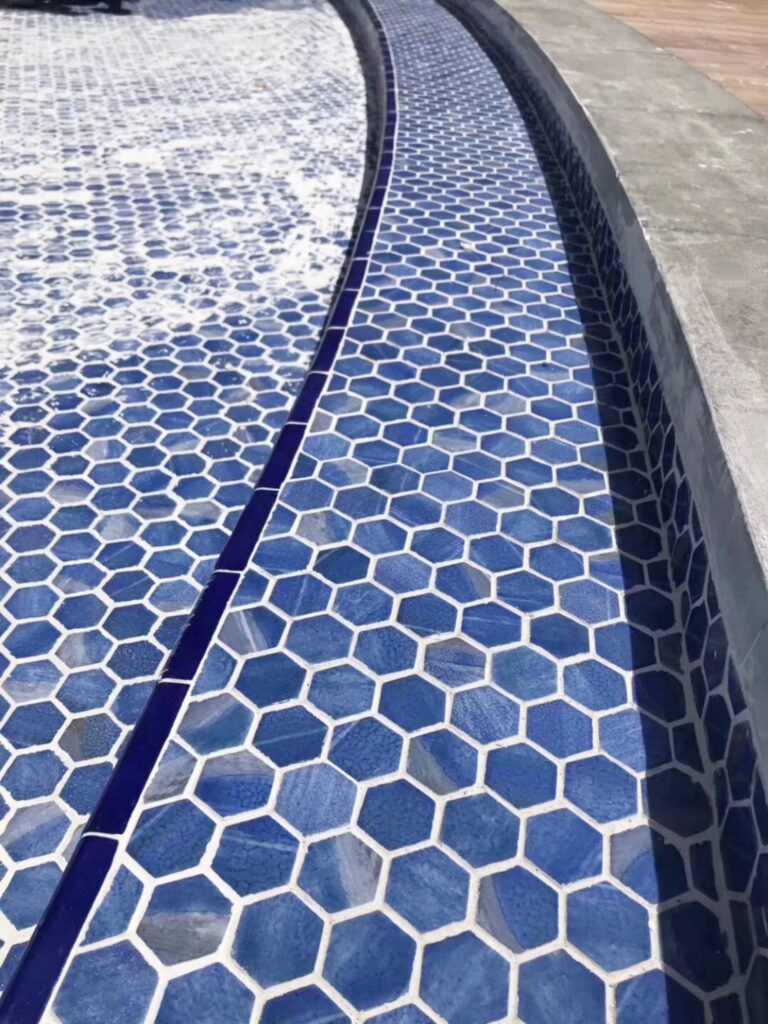
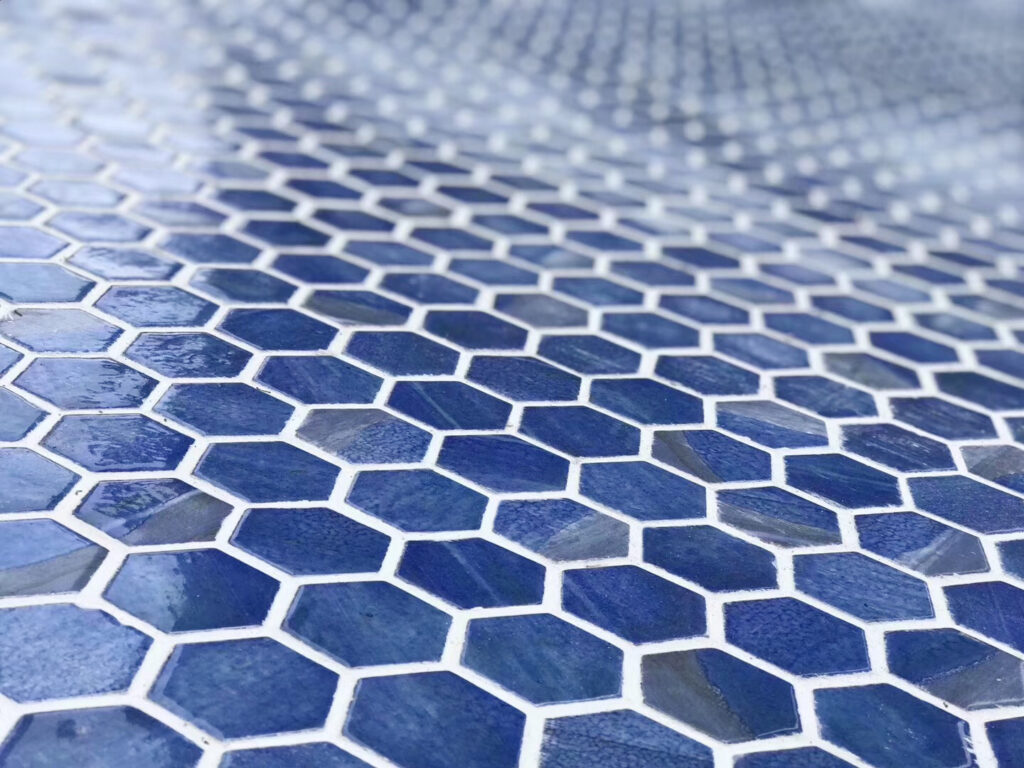
Step 5 — Select the Mosaic Size, Finish and Mounting System
Mosaic size, surface finish, and sheet construction affect how accurately the material follows the pool structure and how the finished installation looks. These decisions should be reviewed with the pool drawings, installation materials, and intended viewing distance.
Mosaic Size
Small mosaic pieces can follow curved walls, rounded corners, steps, benches, and overflow details with fewer awkward cuts. They also provide more resolution for gradients and custom artwork. However, smaller pieces create more grout joints, which can affect appearance, installation time, and cleaning.
Larger pieces may create a calmer visual field on straight walls and broad pool floors, but they are less adaptable to tight curves. Before approval, compare the tile size with the radius of each curved surface and the dimensions of drains, steps, edges, and other details.
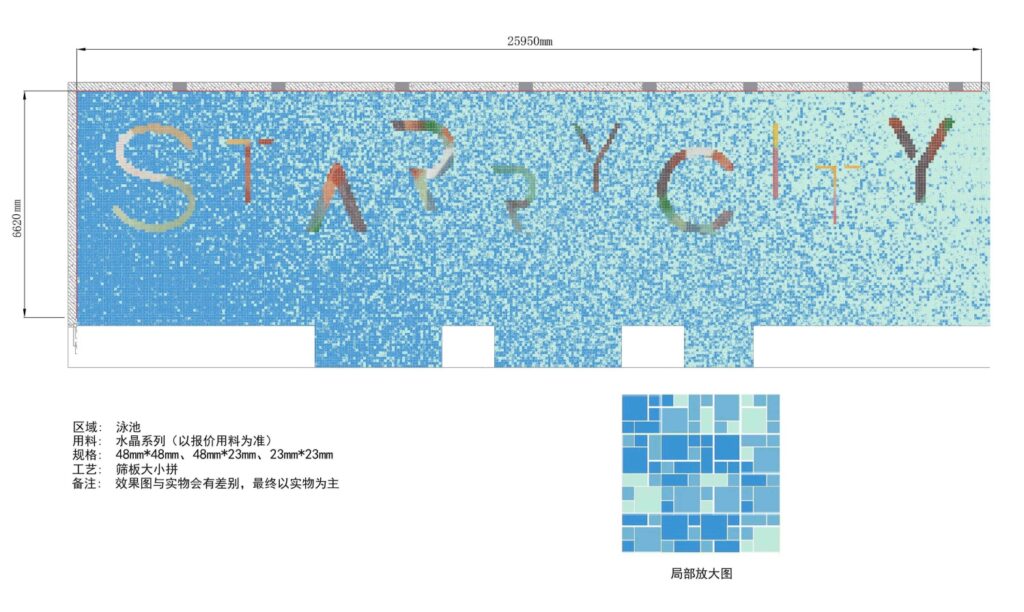
For custom imagery, tile size also determines image resolution. A design that appears clear on a computer screen may lose detail when converted into a limited mosaic grid.
Surface Finish
Glossy mosaics reflect more light and can make underwater colors appear more active. Iridescent finishes change with the light source, viewing angle, and water movement. Matte or textured finishes produce less reflection, although some textures may require more attention during cleaning.
A matte surface should not automatically be described as slip-resistant. Safety claims must be supported by product-specific test data for the intended zone. The same distinction applies to glossy mosaics: their suitability depends on where and how they are used.
Sheet Mounting System
Common formats include mesh-mounted, paper-faced, and film-faced sheets. Each system affects adhesive contact, alignment, inspection, and removal of the facing material.
Before specifying a system, confirm:
- Whether the mounting material is approved for permanent immersion
- How much of the tile back remains available for adhesive contact
- Whether individual pieces can be adjusted on curves
- How sheet joints will be controlled
- When paper or film facing should be removed
- Whether the installer has experience with the selected format
Grout Joints and Grout Color
Joint width influences sheet alignment, pattern continuity, and the overall color field. Grout that closely matches the mosaic can reduce the visibility of individual pieces, while a contrasting grout makes the grid more pronounced.
Record the approved joint width and grout color with the sample. Grout must also be checked for pool-water exposure, cleaning chemicals, and compatibility with the tile and adhesive. These elements form one installation system and should not be approved separately.
Step 6 — Review Technical Performance Before Approval
Visual approval does not confirm that a mosaic can perform in a swimming pool. Before placing an order, review technical information for the exact product, finish, size, and mounting format under consideration. Data from another collection or a similar-looking tile should not be used as a substitute.
Confirm Suitability for the Intended Exposure
The technical review should address the conditions identified in the project brief:
- Suitability for permanent water immersion
- Declared water-absorption value and test method
- Resistance to the pool’s treatment and cleaning chemicals
- Compatibility with chlorinated or saltwater systems
- UV and color stability for outdoor applications
- Freeze–thaw performance where the climate requires it
- Temperature suitability for spas and thermal pools
- Relevant slip-resistance data for floors, steps, or wet walking areas
- Dimensional consistency and edge quality
- Recommended cleaning and maintenance procedures
A general description such as “glass mosaic” or “porcelain mosaic” is not technical evidence. Performance can vary between products made from the same material.
Review the Complete Installation System
Tile performance also depends on the materials and methods used behind and between the pieces. Check:
- Substrate and waterproofing requirements
- Adhesive type, color, and application method
- Required adhesive coverage
- Compatibility with the mosaic backing or facing
- Grout type and joint width
- Movement-joint requirements
- Curing periods before filling the pool
- Installation and cleaning limitations
Translucent glass mosaics may reveal uneven adhesive coverage or the color of the setting material. Mesh, glue, paper, and film systems can also affect installation, so the mounting format must be included in the technical review.
Record the Evidence
For each approved mosaic, retain the product data sheet, relevant test reports, installation instructions, maintenance guidance, and sample reference. Record the test standard, report date, product code, finish, and tested size where available.
Avoid extending one test result to an entire material category or product range. If a required result is unavailable, record it as an open technical question rather than making an unsupported performance claim.
Approval should be issued only after the design team, product supplier, installer, and installation-material manufacturer have resolved any compatibility questions. This creates a traceable specification for procurement, site work, and future maintenance.
Step 7 — Approve Physical and Wet Samples
Product photographs and digital renderings help narrow the options, but they cannot confirm the final water color, surface reflection, joint appearance, or installation quality. Physical approval should reproduce the project conditions as closely as practical before full production begins.
Use a Recorded Sample-Approval Process
A pool mosaic sample should pass through the following stages:
- Review the pool drawings. Mark the walls, floor, waterline, steps, curves, and other application zones.
- Shortlist the materials. Compare the proposed tile, size, finish, mounting system, grout, and adhesive requirements.
- Produce a physical color board. Use the actual tile codes and intended color ratios.
- View the sample dry and wet. Record changes in tone, transparency, reflection, and grout visibility.
- Check the planned lighting. Review daylight and artificial lighting where both affect the pool.
- Approve joints and grout. Confirm joint width, grout color, and the visibility of sheet boundaries.
- Build a larger mockup when needed. Custom artwork, gradients, mixed colors, and reflective finishes may require more than a small sample.
- Create an approval record. Document product codes, finish, mounting method, color ratios, grout, lighting conditions, and approval date.
Know What a Small Sample Cannot Show
A small board may not reveal repeated sheet patterns, uneven color distribution, visible sheet joints, or how a gradient reads across the full pool. It also cannot confirm whether custom imagery will remain clear at the intended viewing distance.
For large or artistic pools, use a mockup large enough to assess pattern scale and installation direction. Compare it with the drawings and numbered layout before production.
Retain one signed reference sample for production control and another for site comparison where possible. Approved samples should be stored and labeled so that procurement, manufacturing, and installation teams are working from the same visual and technical reference.
JNJ Projects: How Pool Conditions Affect Mosaic Selection
Material selection becomes clearer when it is connected to an actual pool, architectural setting, and visual objective. The following JNJ projects show two different selection contexts: an indoor clubhouse pool built around custom artwork and an outdoor pool designed as part of a landscape setting.
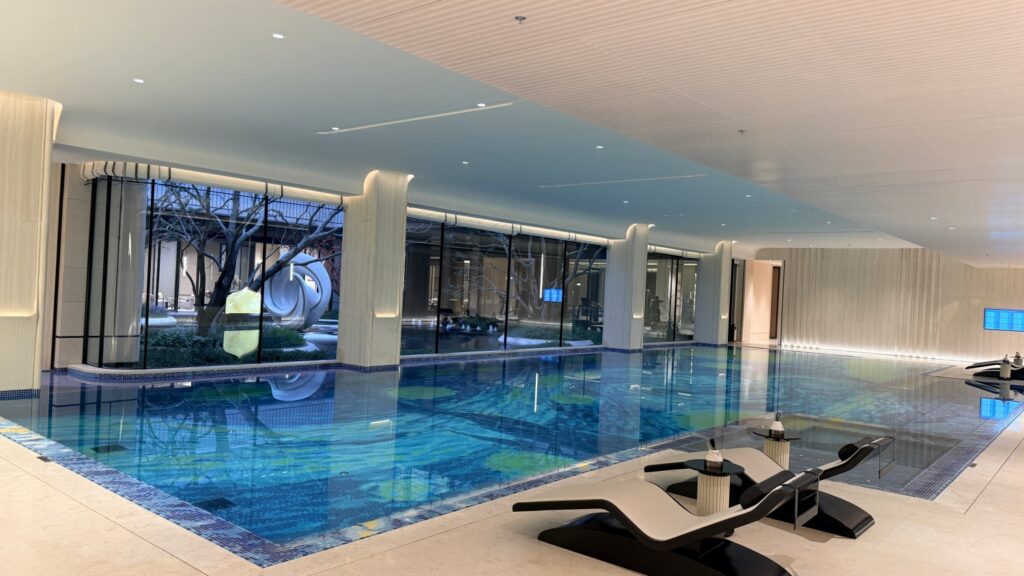
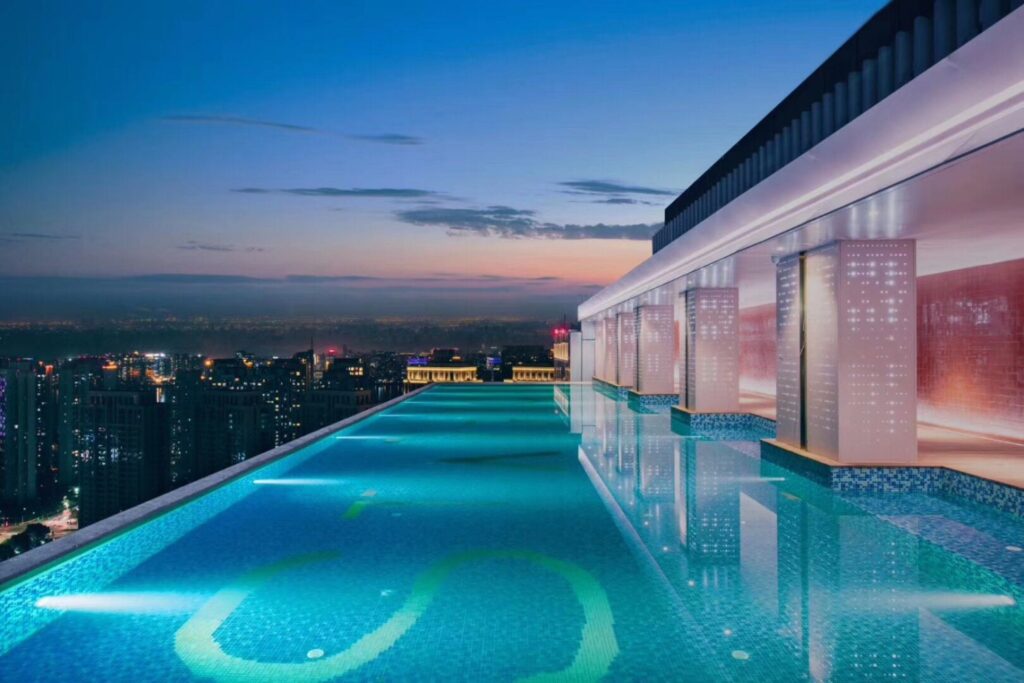
Indoor Artistic Pool: China Merchants Poly Tianyaoxu Clubhouse
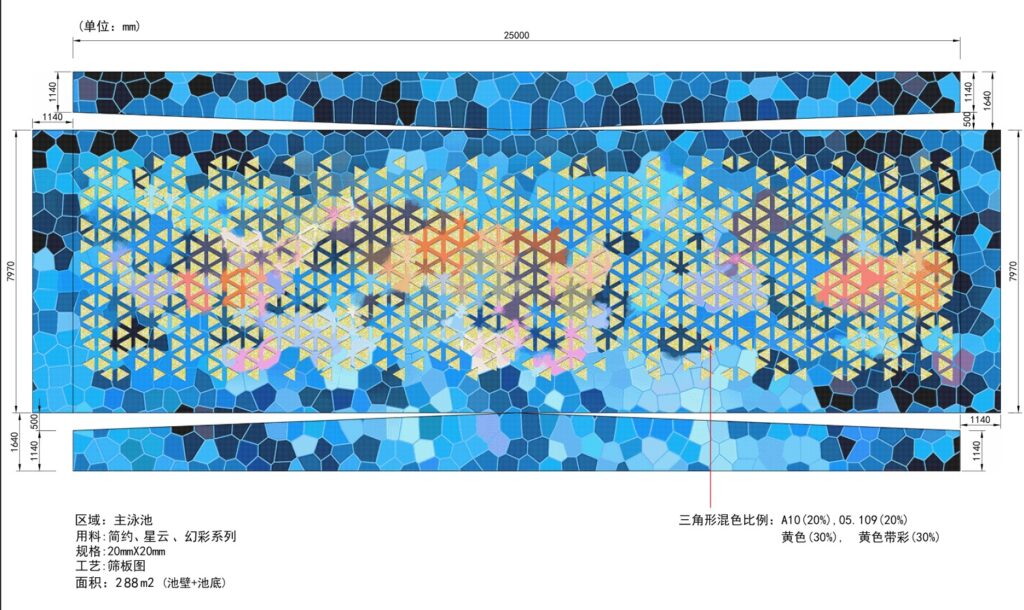
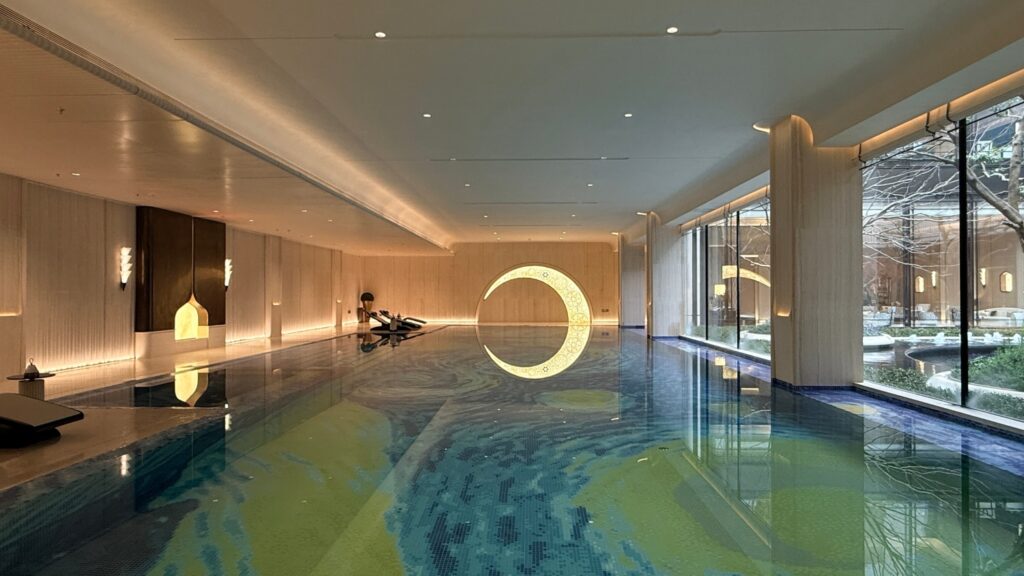
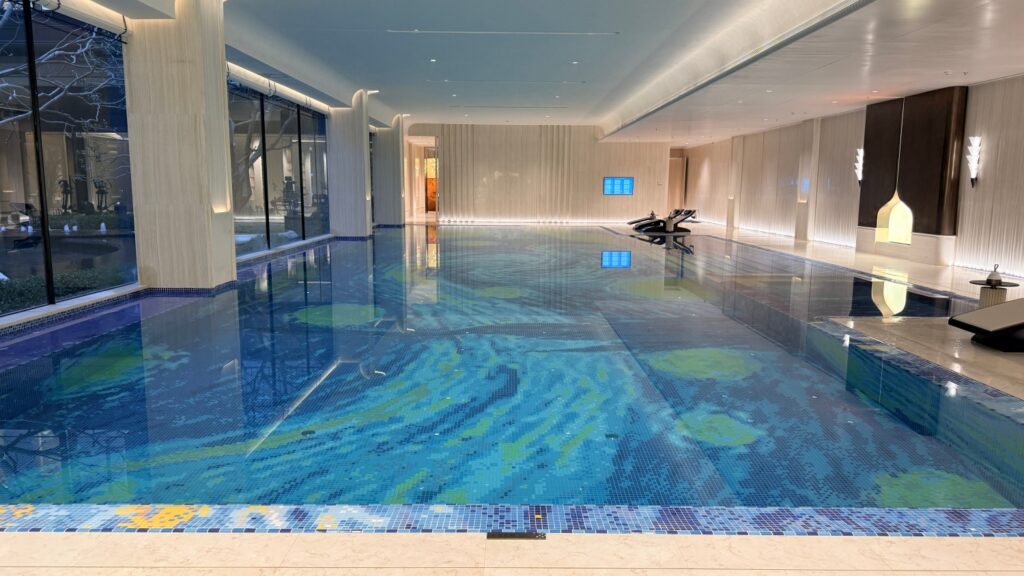
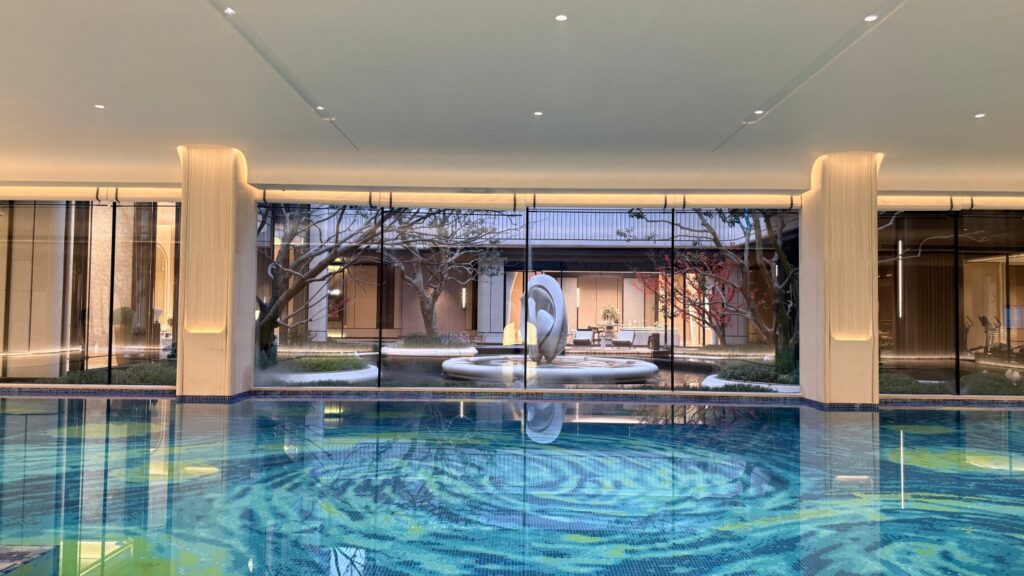
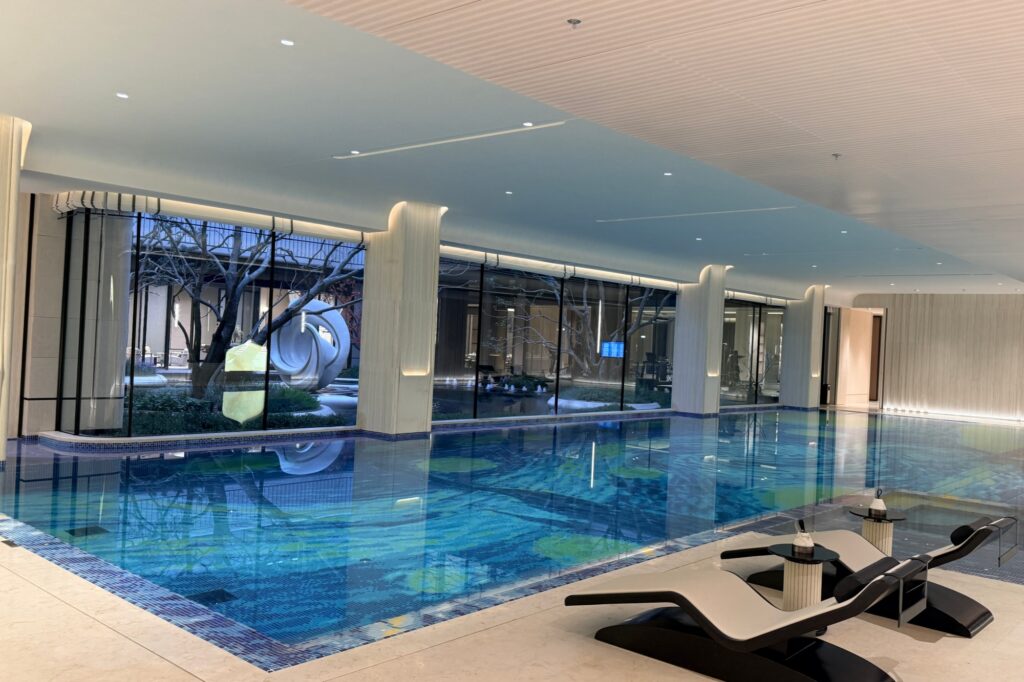
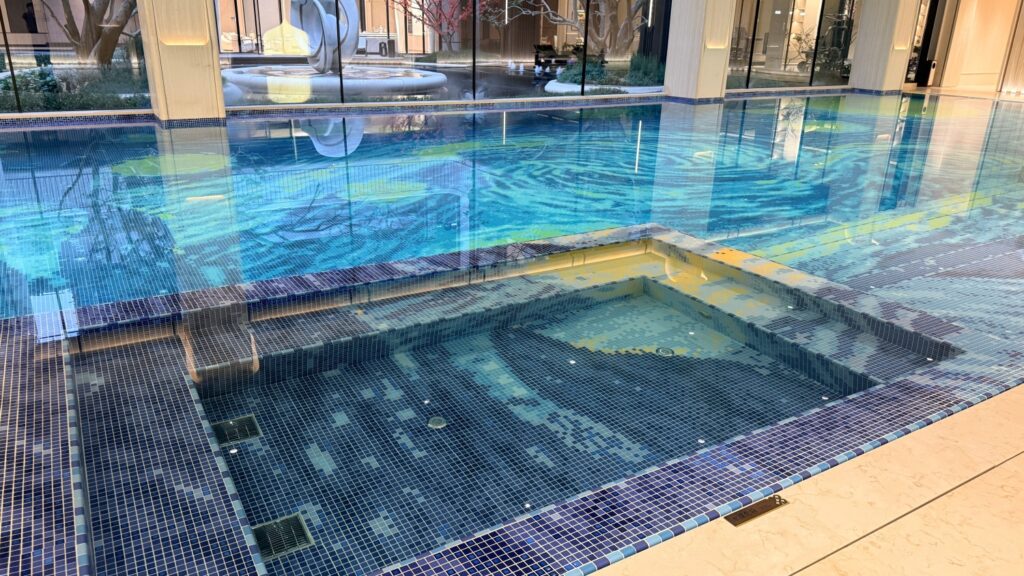
The China Merchants Poly Tianyaoxu Clubhouse Pool is an indoor swimming pool using custom mosaic artwork. Its central design task was to extend the pool composition through a mosaic interpretation of Vincent van Gogh’s The Starry Night.
This type of project requires a different selection process from that used for a solid-color pool. The artwork must first be translated into a tile grid. Tile size affects image resolution, while the available mosaic colors determine how closely the composition can reproduce the movement, contrast, and tonal changes of the source image.
Several factors need to be coordinated:
- The number and distribution of mosaic colors
- Image resolution at the selected tile size
- Viewing distance from the pool deck
- Changes in color below the water
- Reflections created by indoor lighting
- Alignment between sheets during installation
- Transitions between the artwork and surrounding surfaces
A digital rendering alone cannot confirm these details. Physical samples and a larger section of the artwork allow the design team to review color relationships, joint visibility, and image clarity before production. Numbered layouts can then connect each manufactured section with its position on the pool drawings.
The project demonstrates why an artistic pool mosaic should be specified as an image, material, and installation system together. Changing tile size, grout color, or sheet direction after approval could alter the final reading of the artwork.
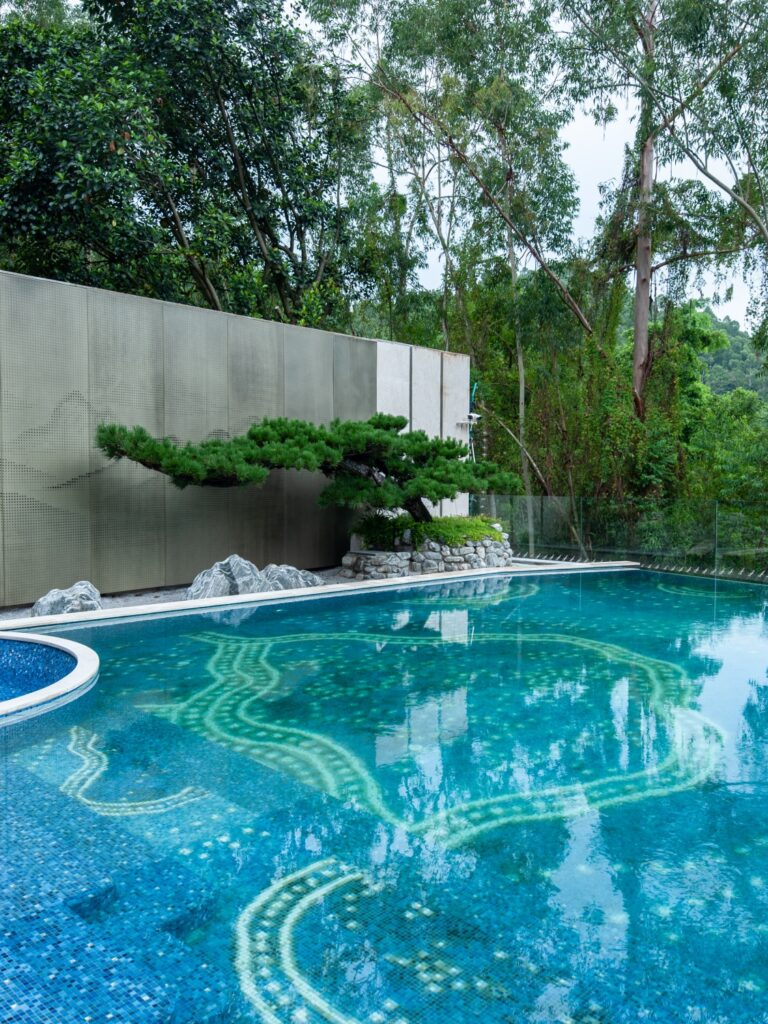
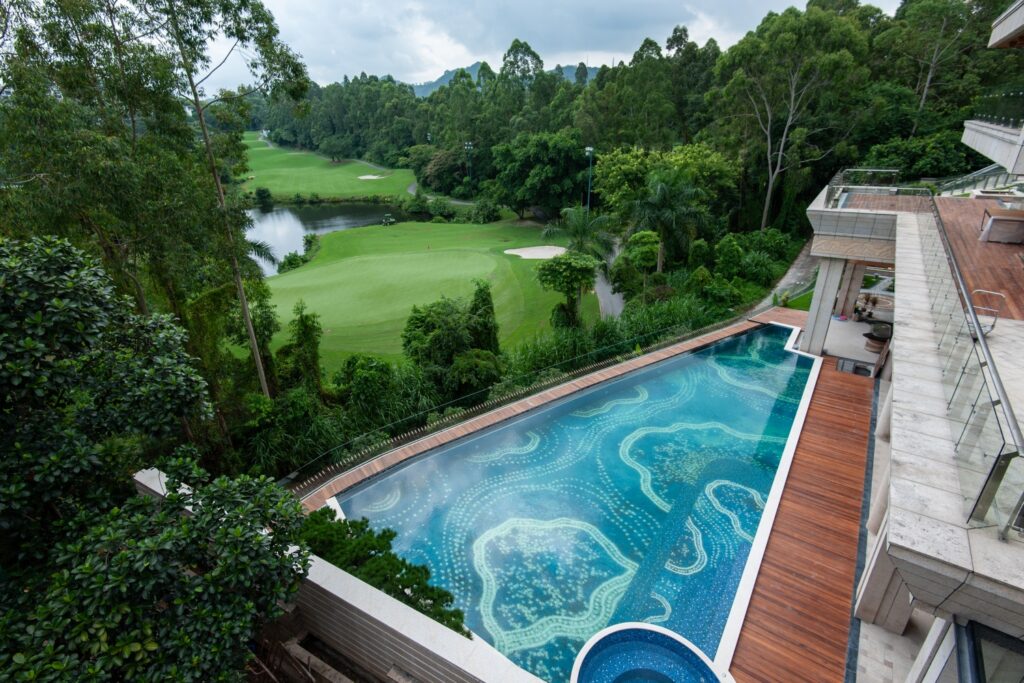
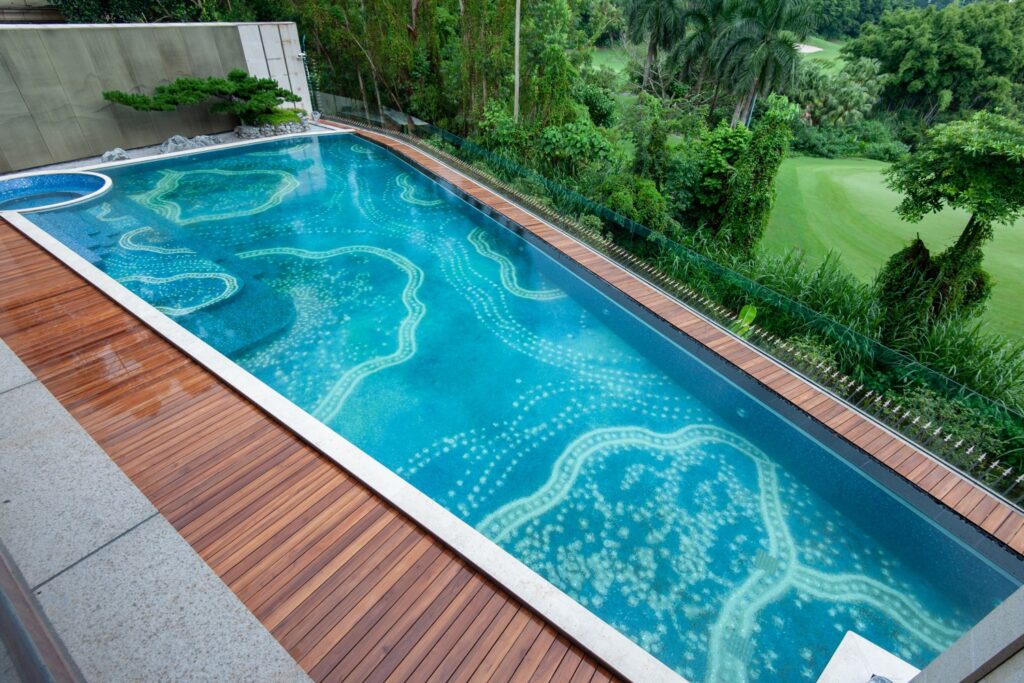
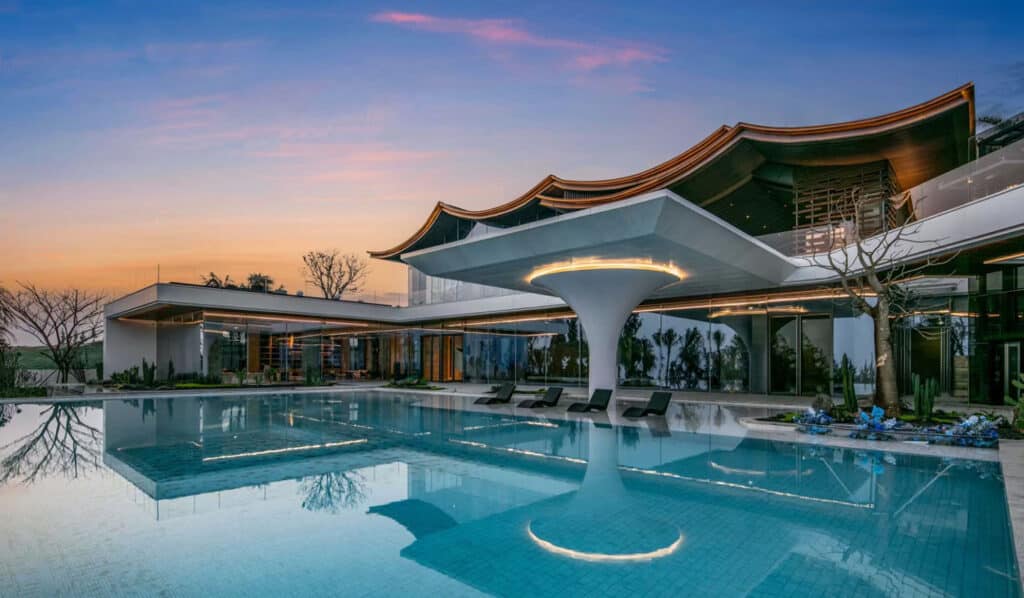
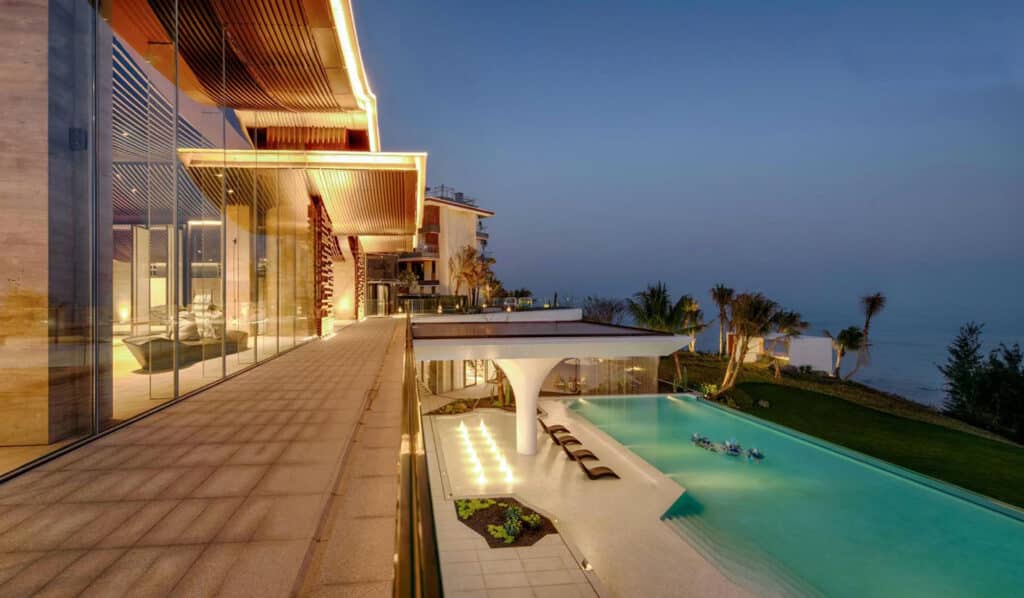
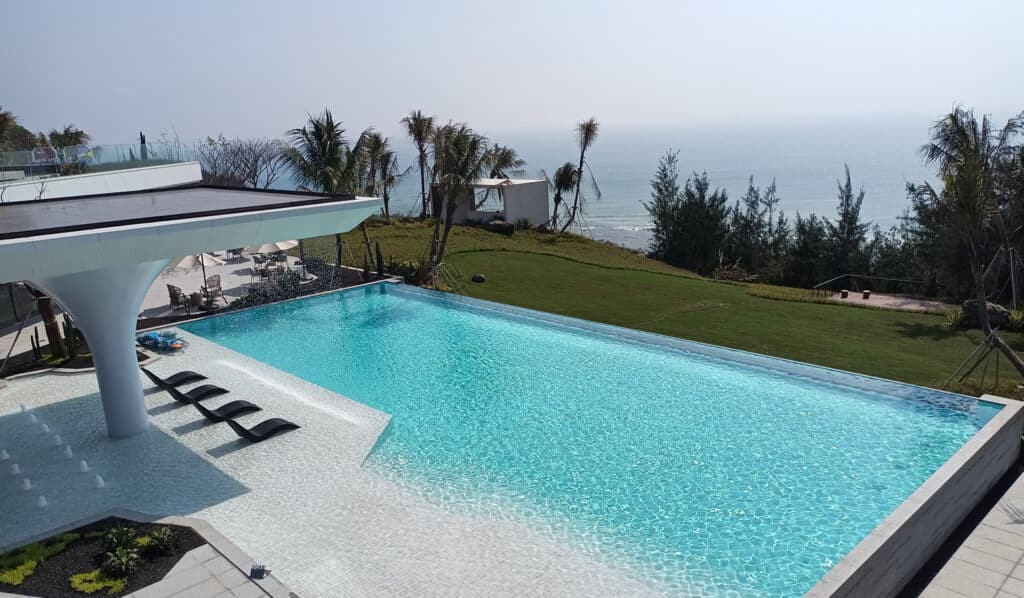
Outdoor Landscape Pool: Hainan Wanning Yaju Leshan Qinwan
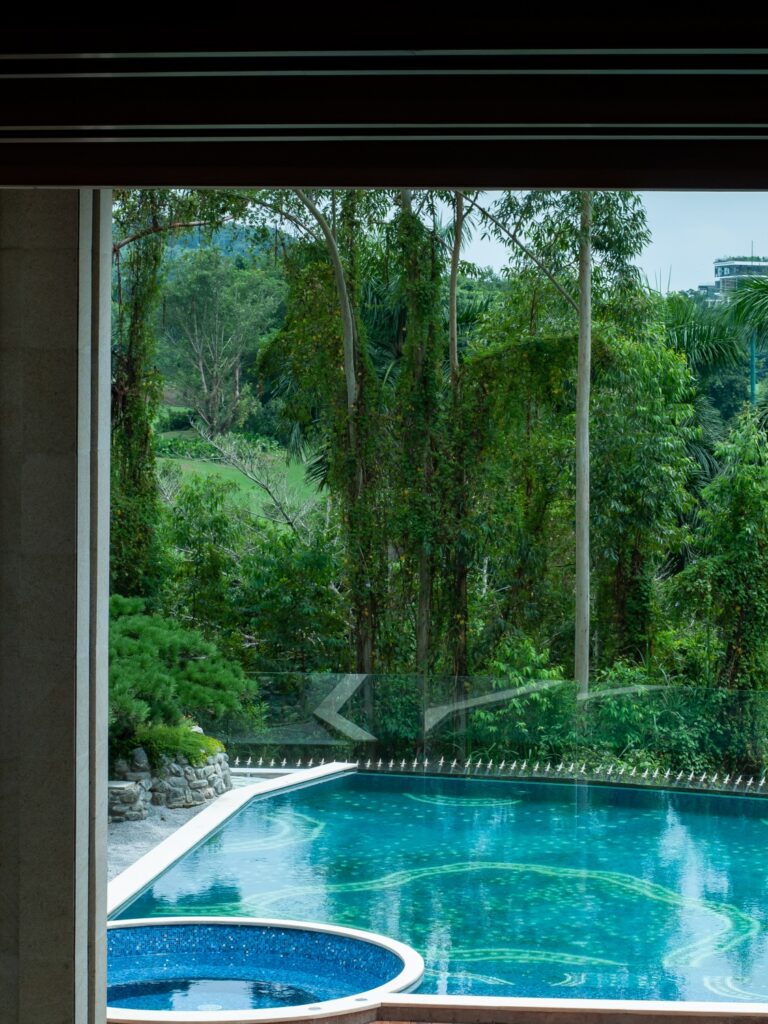
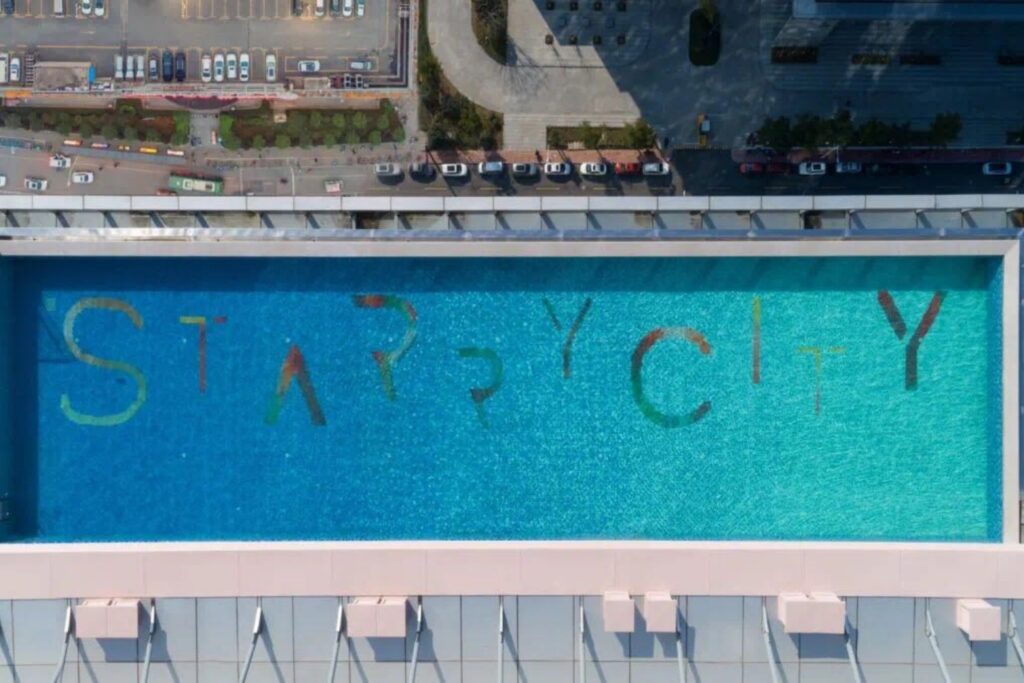
The Hainan Wanning Yaju Leshan Qinwan outdoor swimming pool presents a different set of selection questions. An outdoor pool is viewed under changing daylight and in relation to surrounding buildings, paving, vegetation, and sky reflection.
For this setting, the review should address:
- How the mosaic looks in direct light and shade
- Whether the selected color remains consistent across a large water surface
- How water depth changes the visible tone
- UV and weather exposure
- Cleaning requirements for the waterline
- Material and installation compatibility with the site conditions
- Batch and spare-material planning
The project location should not be used by itself to claim saltwater, salt-spray, or other exposure conditions. Those requirements must be confirmed from the project brief and matched with product-specific technical records.
A representative wet sample is particularly useful for an outdoor pool. It allows the project team to compare the mosaic in daylight, observe reflected color, and review the relationship between the water and nearby finishes. If the pool contains curves, steps, overflow details, or changes in depth, those areas should also be included in the selection and mockup plan.
What These Projects Show
The two projects have different design priorities, but they follow the same selection principle: start with the pool conditions, then coordinate material, color, size, mounting, grout, and installation.
The clubhouse project shows the control needed to translate artwork into an installable mosaic composition. The Hainan project shows why outdoor light and the wider landscape must be included in color and performance review. In both cases, project drawings, technical documents, physical samples, and recorded approvals provide a more reliable basis for selection than a product image alone.
Common Mistakes When Choosing Pool Mosaic Tiles
Many pool-tile problems begin before installation. They occur when appearance, technical performance, and site conditions are reviewed separately. The following mistakes can be reduced through a recorded selection and approval process.
1. Choosing by Color Alone
A suitable color does not confirm that the tile can remain submerged or tolerate the pool’s water treatment. Define the exposure conditions and required performance before approving the palette.
2. Approving Only a Dry Sample
Water depth, grout, daylight, and underwater lighting can change the visible tone. View the actual mosaic wet and, where practical, under the project’s planned lighting.
3. Using One Specification for Every Pool Zone
Walls, floors, steps, waterlines, infinity edges, and surrounding decks have different functions. Mark each zone on the drawings and issue a separate specification where requirements differ.
4. Assuming Every Glass or Porcelain Mosaic Is Pool-Rated
Material categories do not establish performance. Check product-specific documents for permanent immersion, water absorption, chemical exposure, and the intended application.
5. Ignoring the Mounting System
Mesh, glue, paper, or film can affect adhesive contact and sheet adjustment. Confirm that the mounting method works with the adhesive, pool conditions, and installer’s process.
6. Selecting by Unit Price Only
A lower material price may be offset by difficult installation, additional cutting, maintenance, replacement, or schedule delays. Compare the installed system and expected maintenance requirements rather than the tile price alone.
7. Producing Custom Artwork Without an Installation Map
A pattern can lose alignment when sheets are installed without numbered drawings or reference points. Approve the image scale, tile grid, installation direction, and sheet numbering before production.
8. Ordering Without Batch and Spare-Material Planning
Later batches may show differences in tone, finish, or dimensions. Calculate cutting and installation waste, retain replacement material, and record the approved production reference.
A useful final check is to ask whether the specification identifies the exact product, pool zone, finish, size, mounting system, grout, adhesive requirements, technical evidence, and approved sample. If any of these items is missing, resolve it before procurement.
Pool Mosaic Selection Checklist
Complete this checklist before requesting samples or approving a pool mosaic. The information gives designers, manufacturers, and installers a shared reference for material review, sampling, production, and site work.
| Question | Information to Prepare |
|---|---|
| Where is the project located? | Country, region, climate, and relevant local requirements |
| Is the pool indoors or outdoors? | UV, weather, humidity, temperature, and lighting conditions |
| What type of pool is it? | Private villa, hotel, resort, clubhouse, public pool, spa, or water feature |
| How will the pool be used? | User frequency, operating schedule, cleaning, and maintenance plan |
| What water system will be used? | Chlorinated, saltwater, thermal, or another treatment system |
| Which zones will receive mosaic? | Walls, floor, waterline, steps, benches, infinity edge, overflow channel, or surround |
| Are there complex structures? | Curves, rounded corners, ramps, drains, channels, and changes in plane |
| What is the design objective? | Intended water color, pattern, finish, reflection, and relationship with nearby materials |
| What lighting affects the pool? | Daylight direction, shade, underwater lighting, and color temperature |
| Which mosaic format is proposed? | Material, tile size, finish, joint width, and sheet-mounting system |
| What technical evidence is required? | Immersion suitability, absorption, chemical resistance, UV exposure, and zone-specific safety data |
| How will the tile be installed? | Substrate, waterproofing, adhesive, grout, movement joints, and curing requirements |
| How will samples be approved? | Dry review, wet review, lighting check, grout sample, and larger mockup where needed |
| What drawings are available? | Plans, elevations, sections, dimensions, artwork files, and numbered layouts |
| How much material is needed? | Net area, cuts, expected installation waste, spare material, and batch planning |
| What is the project schedule? | Sampling, approval, production, shipping, installation, curing, and pool filling |
Attach the approved product data, sample reference, grout color, installation requirements, and mosaic layout to the project record. Preparing this information before product selection reduces redesign, sampling delays, substitutions, and uncertainty during installation.
A Practical Eight-Step Selection Process
Use the following process to connect design decisions with technical requirements. Record the result of each step before moving to full production.
- Define the pool environment. Document the project location, indoor or outdoor setting, climate, water-treatment system, operating temperature, lighting, and maintenance plan.
- Divide the pool into application zones. Mark submerged walls, floors, waterlines, steps, benches, infinity edges, overflow channels, and surrounding wet areas on the drawings.
- Set the performance requirements. Identify the technical evidence needed for permanent immersion, absorption, chemical exposure, UV conditions, temperature changes, and relevant safety requirements.
- Compare suitable mosaic materials. Review glass, porcelain, ceramic, stone, or mixed materials against the requirements of each pool zone. Do not approve a product by material name alone.
- Select the size, finish, and mounting system. Check curves, corners, image resolution, joint layout, adhesive contact, cleaning, and the installer’s proposed method.
- Develop the color or pattern. Assess water depth, grout color, daylight, underwater lighting, surrounding finishes, and viewing distance. Record color codes and blend ratios.
- Review documents and approve samples. Check product data, test reports, installation instructions, dry and wet samples, and a larger mockup where the design requires one.
- Coordinate production and installation. Confirm quantities, batch planning, spare material, sheet numbering, installation drawings, curing periods, and site responsibilities.
If one step changes, review its effect on the others. A change in tile size, for example, may affect artwork resolution, joint layout, sheet format, installation time, and ordering quantities.
When a Custom Pool Mosaic Solution Is Worth Considering
Standard mosaic collections can meet the needs of many pools. A custom solution becomes useful when the project requires tighter control of color, pattern, geometry, or coordination between design and installation.
Consider a custom pool mosaic solution when:
- Artwork, a logo, or a project-specific image must be converted into a mosaic grid
- A defined underwater color or gradient is part of the design brief
- The pool includes curved walls, benches, overflow channels, infinity edges, or irregular transitions
- A hotel, resort, clubhouse, or branded property needs a distinct visual identity
- Several pool zones must share one coordinated material and color system
- A large tiled area requires controlled color ratios, sheet distribution, and batch planning
- The design combines different finishes, tile sizes, or materials
- Numbered layouts and installation maps are needed to position sheets correctly
- Physical samples or full-scale mockups are required before production
Custom work should begin with project information rather than a product reference alone. Provide pool drawings, dimensions, application zones, water-treatment details, lighting plans, visual references, and the intended viewing distance. These inputs allow the project team to assess tile size, image resolution, color distribution, sheet format, and installation constraints.
The approved design should then be recorded through product codes, color ratios, finish references, grout selections, numbered layouts, and physical samples. This gives the design, manufacturing, procurement, and installation teams the same reference.
For support with material review, color development, sampling, production coordination, and installation requirements, explore JNJMosaic’s swimming pool and spa mosaic solutions.
FAQs
What type of mosaic tile is best for a swimming pool?
There is no single material that suits every pool. Compare products according to permanent-immersion suitability, water treatment, climate, application zone, maintenance, and the intended visual effect. Glass, porcelain, and pool-rated ceramic mosaics can all be used when their technical data and installation systems meet the project requirements.
Are glass mosaic tiles suitable for swimming pools?
Some glass mosaics are designed for permanent pool immersion, but the material name alone is not proof of suitability. Check the exact product’s technical documents, mounting method, adhesive requirements, and chemical compatibility. Translucent glass also requires controlled adhesive color and coverage because the setting material may remain visible through the tile.
What mosaic size is suitable for a curved pool?
Smaller pieces generally follow curved walls, rounded corners, benches, and transitions with fewer cuts. The required size depends on the radius of the curve, joint layout, and sheet flexibility. Build a trial section for tight or irregular curves and confirm that the mounting system permits individual pieces to be adjusted during installation.
Does pool tile color change the appearance of the water?
Yes. The visible result is affected by tile color, water depth, grout, daylight, underwater lighting, sky reflection, and surrounding finishes. A dry sample may appear different after installation. Review the proposed mosaic wet and under lighting conditions that represent the project. Large pools or color gradients may require a larger mockup.
Do pool mosaics need to be slip-resistant?
The answer depends on the application zone. Submerged walls, pool floors, steps, benches, and pool surrounds have different safety requirements. Do not assume that a matte surface or a mosaic with many grout joints automatically provides suitable slip resistance. Review product-specific test data and the requirements that apply to the intended area.
Can bathroom mosaic tiles be used in a swimming pool?
Not unless the product is documented for the intended pool conditions. Bathroom mosaics may experience intermittent moisture, while pool tiles remain submerged and are exposed to treatment chemicals. Confirm permanent-immersion suitability, water absorption, chemical resistance, mounting compatibility, and installation requirements before specifying an interior mosaic for a pool.
What documents should be checked before ordering pool mosaics?
Request the product data sheet, relevant test reports, installation instructions, cleaning guidance, and details of the mounting system. Depending on the project, review absorption, chemical resistance, UV exposure, freeze–thaw performance, temperature suitability, and zone-specific slip data. Verify that every document applies to the exact product, size, and finish being ordered.
Should pool mosaic samples be viewed underwater?
At minimum, compare the sample dry and wet. A wet review can reveal changes in tone, reflection, transparency, and grout visibility. Custom artwork, gradients, mixed-color designs, and reflective finishes may require a larger mockup. Include the proposed grout and evaluate the sample under daylight and artificial lighting where both affect the pool.
How much extra mosaic should be ordered?
There is no fixed allowance for every project. Calculate extra material according to the pool geometry, cutting, curves, pattern complexity, installation method, expected waste, and future repairs. Custom artwork and numbered sheets need separate planning. Keep replacement material from the approved production batch because later batches may differ in tone, finish, or dimensions.
How do I choose a pool mosaic tile supplier?
After defining the material and technical requirements, evaluate whether a supplier can provide product-specific documents, controlled samples, production references, installation information, and relevant project evidence. Factory capability, quality control, communication, and project support require a separate review. See JNJMosaic’s guide on how to choose a swimming pool mosaic tile supplier.
Select the System, Then Approve the Surface
Choosing pool mosaic tiles begins with three decisions: match the material to the pool environment, specify it for each application zone, and verify the complete system before ordering. Tile, mounting, adhesive, grout, waterproofing, joints, and installation methods must work together under the project’s water, climate, and maintenance conditions.
Color approval comes after these requirements are defined. Review the mosaic wet, under the planned lighting, and with the intended grout. Custom patterns, gradients, large areas, and curved structures may also require a larger mockup and numbered installation drawings.
To discuss a project with JNJMosaic, prepare the location, pool drawings, application zones, water-treatment system, design references, technical requirements, and schedule. The team can then assess material options, color development, sampling, production coordination, and installation needs through its swimming pool and spa mosaic solutions.